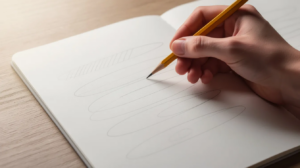
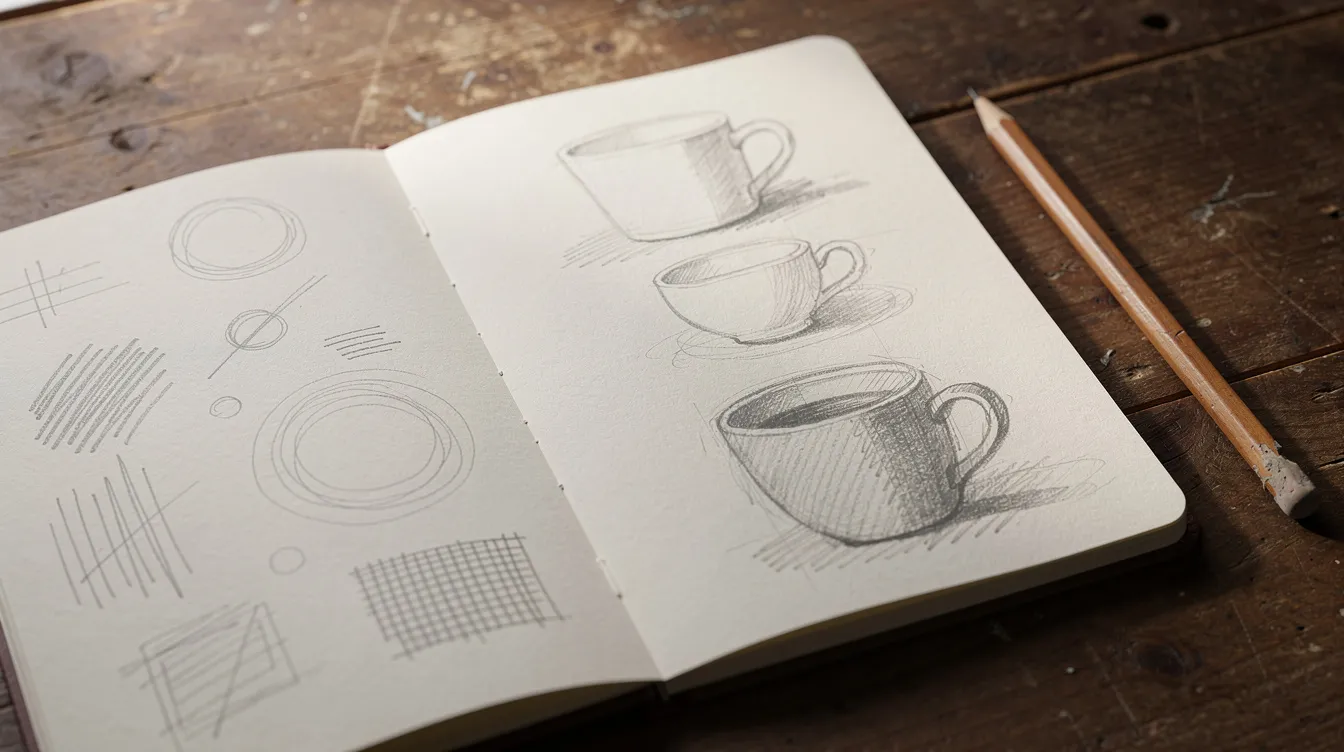
I came back to drawing after years away. The first few pages in my new sketchbook were stiff, overworked, and disappointing in a way that made me want to close it again. What helped me stay was not a course or a set of expensive pencils but a short list of exercises I repeat every week: blind contour lines, short gesture drawings, simple shapes with shading, and a timed drawing of one ordinary object. They stay useful whether the week was good or terrible. If you are in the same spot, my notes on learning to draw as an adult may help.
Drawing is a learnable skill, not a talent lottery. Regular practice with simple exercises leads to measurable improvements in drawing skills, and effective sketching exercises for beginners focus on building hand control, spatial awareness, and observation. Drawing exercises enhance control, precision, and fluidity in strokes over time. The article moves from the simplest exercises (practice lines and basic shapes) to more complex ones (gesture, value, textures), and the key ideas come up early: muscle memory, daily practice, continuous line drawing, and using the non dominant hand.
The concrete benefits of repeating sketch exercises weekly:
-
Better control over your pencil, with lines that go where you want them
-
Faster sketching, because you spend less time hesitating
-
Stronger observational skills, because you train your eyes to see edges, values, and proportions
Why repeat at all? When I restarted I wanted every page to be a finished drawing, and that was a mistake. Finished pieces hide what is going wrong. A repeated exercise works like a ruler; I can flip back a month and see what changed. Repetition also removes the decision of what to draw. If Tuesday is always gesture drawing, there is nothing to decide.
How to start drawing today (even if you feel rusty)
I restarted my own sketching habit in a single afternoon in early 2024, using a 10 minute warm up routine at the sofa table. Here is a simple first session plan:
-
5 minutes drawing lines: horizontals, verticals, diagonals, quick lines and short lines across the page
-
5 minutes of basic shapes: circles, squares, triangles, ovals in different sizes
-
10 minutes sketching any nearby object: a mug, a plant, a shoe
Tools: one HB pencil, one black pen, and an A5 sketchbook or loose printer paper are enough to start drawing. In my experience a cheap pencil and a plain notebook do the job. A new set of drawing tools bought for motivation lasted about two sessions of enthusiasm, while a routine lasted far longer.
Rough, messy pages are normal. The goal is to lower pressure and build a habit. I keep my bad pages now, because they are the best evidence that anything is changing. Mistakes during drawing help you understand initial misinterpretations by the eyes, and that understanding is where the learning lives. If you are unsure where to begin, I wrote up a good starter exercise that takes just a few minutes.
Warm up drawing exercises: lines, control, and muscle memory
I never skip warm ups anymore. They train muscle memory and dexterity the way scales train a pianist. I begin every session with a blind contour because nobody has ever produced a beautiful one, so the pressure is gone before I start. Blind contour drawing helps build observation and hand-eye coordination by forcing the eye to lead the hand.
Here are the warm ups I rotate through:
-
Straight and curved lines. Fill half a page with horizontal, vertical, and diagonal lines, then arcs and S curves. Draw from the shoulder rather than the wrist. Practice drawing straight lines for improved accuracy. Practicing curves and zig-zags enhances line control in ways that tiny wrist movements cannot.
-
Aim lines toward points. Draw a small dot or tiny circle. Then practice drawing single, confident lines from different angles that stop exactly on that point. Ghosting lines (hovering the pencil over the path before touching the paper) improves confidence before drawing on paper and helps you draw straight lines with intention.
-
Parallel and tapered lines. Draw one straight line, then add lines beside it, keeping spacing consistent. Drawing parallel lines helps identify spacing errors. Then practice lines that go thick to thin or thin to thick, varying pressure. Line stacks and curved lines contribute to hand control and confidence.
Practicing lines enhances control and precision in strokes. Slower, deliberate marks improve your drawing more than fast scribbling. I spend about five minutes on these, and by the end my hand feels warmed up and my lines feel more certain. Regular practice builds muscle memory for drawing skills, and over time muscle memory allows artists to draw more naturally.
Basic shapes: the foundation of every sketch
Almost everything we draw reduces to circles, squares, and triangles, and mastering them improves your drawing quickly. Basic shapes include circles, squares, and triangles, and they are the building blocks of more complex drawings. Practicing basic shapes builds foundational drawing skills and foundational observational skills.
Start with a shape repetition drill: fill a page with rows of each shape in different sizes, focusing on accuracy and consistency. Drawing circles and ellipses improves placement accuracy, and drawing circles and ellipses is essential for cylinder-like forms such as mugs, bottles, and arms. Repetition of shapes helps develop muscle memory in drawing.
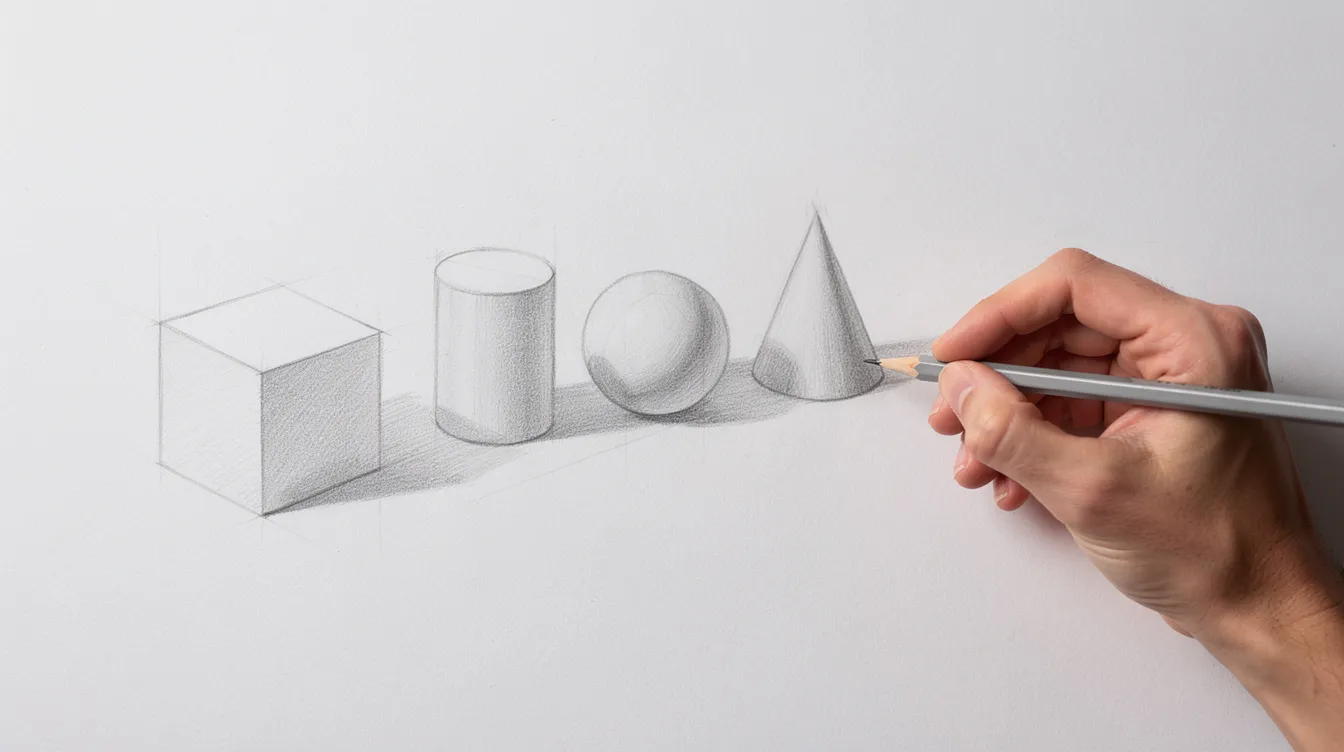
Next, practice drawing basic shapes in 3D: cubes, cylinders, cones, and spheres, using simple perspective lines and ellipses. Sketching simple 3D forms like cubes and cylinders improves spatial understanding. I draw the sphere, cube, cylinder, and cone, shade each with one light source, and write the light direction in the corner of the page so I stay consistent.
Mini assignment: pick one object on the table (a coffee mug or smartphone) and spend 5 minutes breaking it into basic shapes before adding details. Then compare your drawing with a real egg, box, or rolled up sock placed beside a lamp. This exercise helps you notice how abstract shapes underlie every object, and how simple shapes become complex forms once light hits them.
Continuous line drawing: training hand-eye coordination
Continuous line drawing means making a drawing with one continuous line, never lifting the pen or pencil from the paper. Continuous line drawing enhances hand-eye coordination, and it does so by forcing the hand to follow the eye along every edge and curve.
A basic exercise: draw your non moving hand (or a mug) on the table in one line, moving slowly and watching the subject more than the page. The pencil moves only as fast as my eye moves along the edge, and the result looks strange, which is fine. The same line that records a knuckle also records the gap between fingers, because you cannot lift and reposition.
A “room walk” version works well for a change of pace: pick a corner of the room on any ordinary day and let the line wander over furniture, plants, and objects without stopping.
This exercise helps you stop “symbol drawing,” that tendency to draw what you think a hand or a chair looks like instead of what you see. The point is to connect eye and hand and to stop trusting the symbol my brain has stored since childhood. Try the same subject in blind contour (never looking at the paper) and semi blind modes (occasional glances) and compare results in your sketchbook. You will notice the semi blind version is more spatially accurate, while the blind one records edges with more honesty.
Left hand (non dominant) and both hands drawing
I occasionally draw with my left hand as a reset when perfectionism creeps in. Using non-dominant hand or blind drawing bypasses perfectionism and strips away the illusion of control. It is an occasional change of pace for me, not one of my four weekly repeats; more of an eye opener than a staple.
Simple exercise: set a 3 minute timer and draw your coffee mug, keys, or shoe with only your non dominant hand, erasing nothing. Then try a “both hands” experiment: a pen in each hand, mirroring simple shapes on both sides of the page. The left hand version will look rough, and that is the point. Benefits include breaking habits, loosening up, reducing the worry about mistakes, and discovering unexpected line quality that can later influence dominant hand work. Try it the same day you read this and see what happens. The process matters more than the output here; your comfort zone shrinks a little each time you step outside it.
Gesture drawing: capturing movement and energy
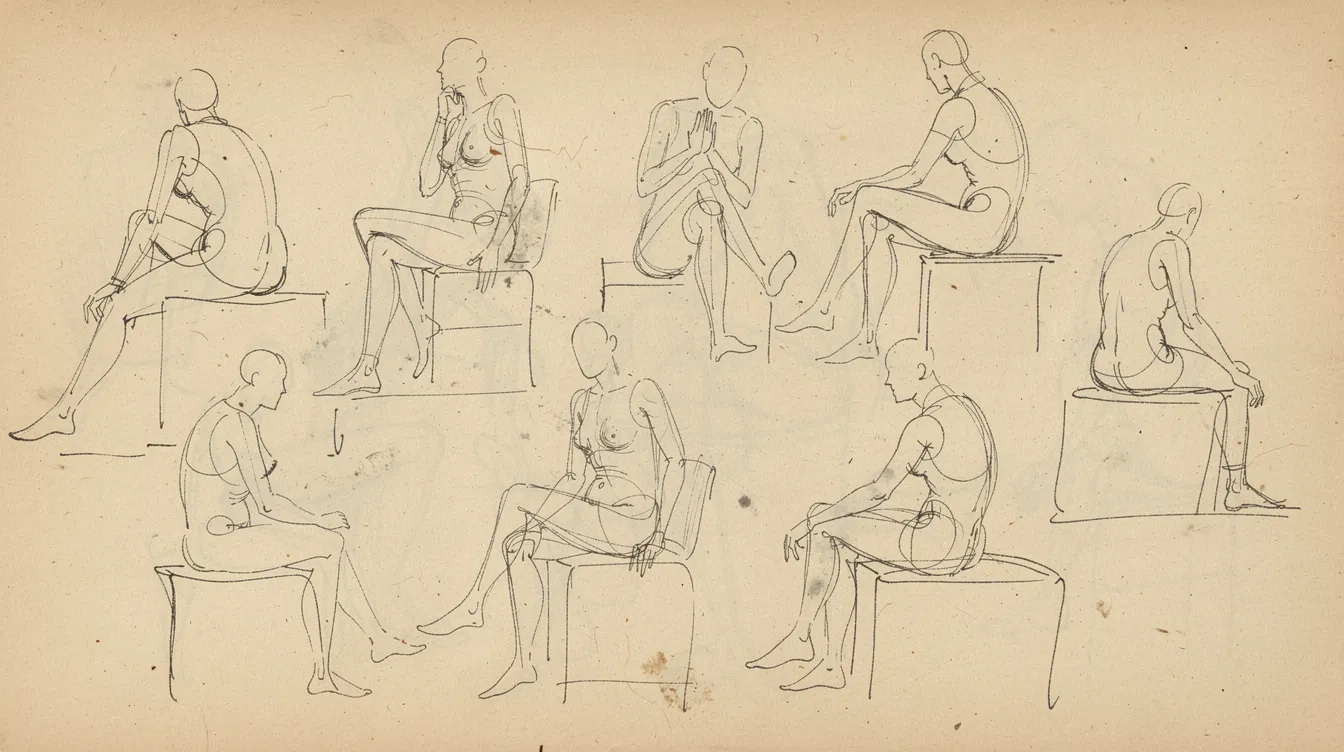
Gesture drawing means fast, loose sketches that capture action, pose, or flow rather than details. Subjects that work for me: a cat asleep and then stretching, a person on a video call with the sound off, a coat thrown over a chair. Others are people walking past a cafe window or sports footage paused every minute. Timely sketches help in capturing energy, movement, and primary gesture. Gesture drawing enhances figure drawing skills through quick sketches of a figure in motion or at rest.
A concrete routine: set a 10 minute timer, do ten 30 second gestures of a standing or sitting figure, then five 2 minute gestures of the same subject. In a feasibility study on observational drawing, participants averaged doing gesture 10 times across the study period (range 5 to 18), and gesture was among the techniques most often cited as helpful.
Gesture drawing is the exercise I most want to skip and the one I benefit from most. My habit is to fuss with a nose or a fingernail, and thirty seconds does not allow that. After a few rounds my lines get bolder and drawings start to feel like they have weight. It builds confidence and speeds up the decision of what to include or leave out. Use a chunky pen or soft pencil, and stand at a table for big arm movements. I sometimes use a fine black pen because it stops me rubbing things out, which forces each line to count.
Value studies and simple shading exercises
Value means the range from light to dark in a drawing. Value scales enhance shading control and understanding of light and depth, and value studies are one of the fastest ways to improve your sense of form.
Create a value scale: a rectangle divided into 6 boxes, shaded from almost white to as dark as your pencil goes, in even steps. Then try these:
-
2 value study: only light and dark, no mid tone. Decide where the shadow falls and fill it in.
-
3 value study: add a mid tone. An apple or egg under a lamp works well.
-
6 value study: refine into more steps to study how form turns from light into shadow.
Mini assignment: put a single object under a desk lamp at night and do three small thumbnail sketches in different value ranges, each under 5 minutes. Drawing from life forces consideration of depth, light sources, and volume. This is where I learned that shading is mostly about deciding: where is the lightest spot, where is the darkest, and what is the reflected light at the edge of the shadow? In a study of younger learners, only about 79.1% mastered accurate values after instruction, making it the trickiest skill measured, yet 75% of those learners said value practice made the biggest difference to realism.
A reference point: chiaroscuro, the use of strong contrast between light and dark, supports the idea that a simple lamp and a plain object create a good study even if you never aim for anything that dramatic.
Negative space, contour, and simple observation drills
Negative space drawing means focusing on the shapes of the gaps around and between objects instead of the objects themselves. Negative space drawing improves accuracy and perception. The goal of observation drawing is to see what is actually there rather than relying on memory.
Concrete exercise: draw a chair or houseplant by shading only the gaps and background shapes, leaving the object as white paper. The chair itself appears without you drawing it directly.
Classic contour exercise: slowly trace the outline of a subject with your eyes and hand together, keeping the line unbroken and tied to observed edges. I use my left hand or a mug for five minutes, looking at the subject from different angles. In one educational study, 37.5% of participants selected sighting (visually measuring proportions) as the most valuable observation technique. These drills shift attention from what you think you know to what is really in front of you. Drawing everyday objects improves observation skills and accuracy. For background on the technique, the Wikipedia entry on contour drawing is a handy overview.
An additional exercise worth trying: upside-down drawing. Turn a photo or a simple image upside down and copy it. Upside-down drawing challenges perception and helps recognize shapes and lines rather than named objects, because the brain stops labeling “nose” or “handle” and instead sees the actual contour. Upside down drawing enhances observational skills in a way that feels odd but works.
Texture, hatching, and mark making games
I use texture drills as a playful way to build a richer visual vocabulary. This is a play day for me rather than part of my weekly four. Mark making is about expanding the range of strokes you have available: dots, short lines in different directions, cross hatching, scribbles, and deliberate patterns.
-
Texture grid. Draw a grid of 1 inch squares (large sheets of paper help here) and fill each with a different texture: wood grain, brick, fabric folds, grass, hair, using only lines and dots. The variety of different textures on one page is a fun reference to flip back to.
-
Hatching and cross hatching. Practice straight, curved, and broken strokes, varying direction, spacing, and pressure to move from dark to light across a rectangle.
-
Texture walk. On a Sunday afternoon, walk around your home and sketch quick swatches of at least 5 surfaces: metal, glass, stone, paper, a knit blanket. Each one asks for a different mark, drawn in different ways and from different angles, which trains you to create surface on a flat page.
Timed sketch sessions: structure for busy schedules
During a busy month last year I used 10 minute timer sessions to keep my drawing muscle memory active. My weekly timed drawing is one ordinary object (scissors, a pear, a kettle) in ten minutes, with little erasing: if a line is wrong, I draw a better one beside it. Comparing a kettle from March with one from June shows progress even when I felt I was not improving. Timed drawings help improve speed and observational skills.
A simple format to copy into a sketchbook or planner:
|
Block |
Duration |
What to draw |
|---|---|---|
|
Warm up |
10 minutes |
Lines, basic shapes, one blind contour |
|
Focus |
20 minutes |
One subject, observed from the same angle, with shading |
|
Explore |
40 minutes |
A looser, exploratory sketch of whatever you like |
Examples of timed tasks: three 1 minute drawings of the same object, plus a 5 minute and a 15 minute version of one scene to compare decisions about detail. You will notice what you choose to include and what you decide to leave out changes with the time allowed.
I set the timer on my phone, face down, and stop when it goes off even mid-line. That makes it easier to begin next time, because no session has to be perfect or even complete.
Designing your own daily sketch exercise routine
The biggest improvement comes from consistency. Consistent practice helps maintain and improve drawing skills, and engaging in a daily sketching routine fosters consistency and improvement. Practicing drawing for 10 minutes daily improves skills over weeks, not months. I encourage readers at Sketching Again to design a routine that fits their real lives.
A full weekly plan for someone with more time: 5 days of short sessions (10 to 20 minutes) and 1 longer session (45 to 60 minutes) on a subject you enjoy. Rotating themes work well: Monday lines and basic shapes, Tuesday continuous line, Wednesday gesture, Thursday value, Friday textures, weekend “draw what you see” from any perspective that interests you.
My own pattern is lighter and has lasted longest: Monday blind contour then gesture, Wednesday shapes and shading with a lamp, Friday or the weekend one timed object. About twenty minutes each, and three sessions counts as a good week. If I miss a day I never double up, because catching up makes it feel like a debt. Practice makes perfect only if it stays sustainable.
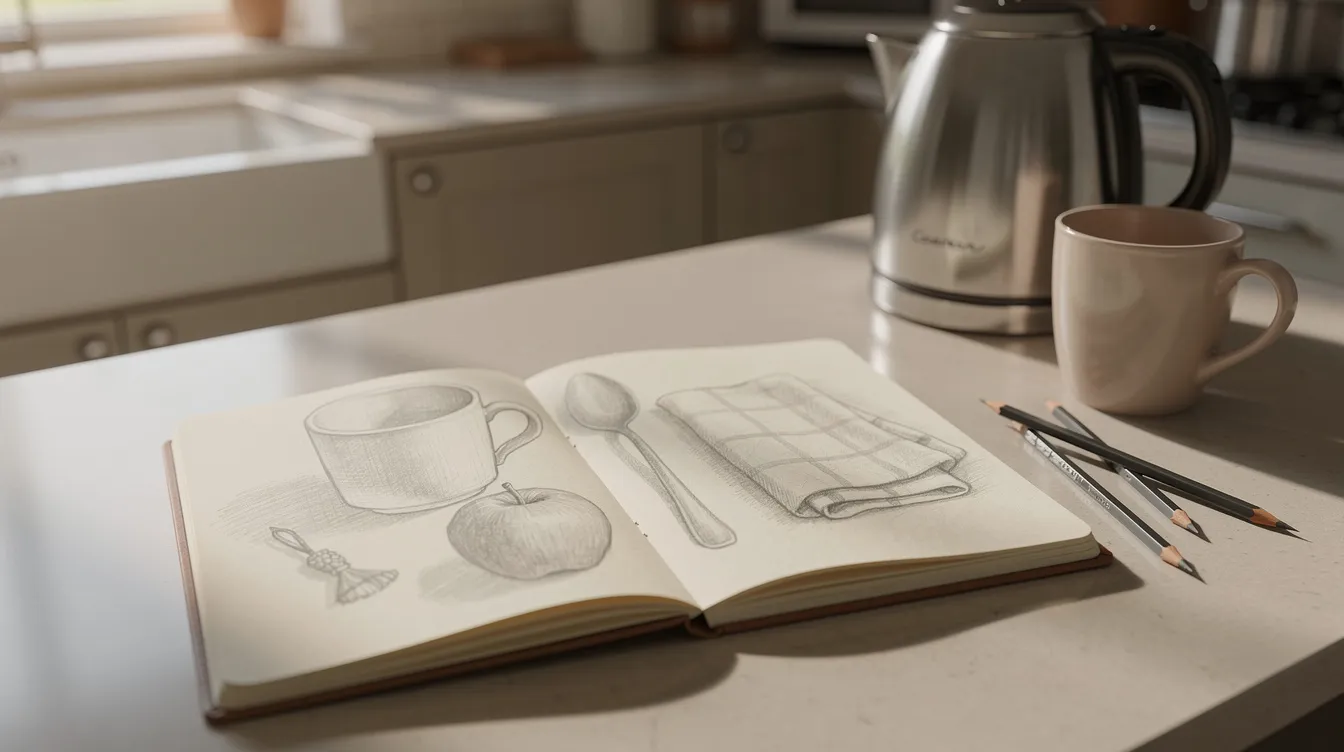
Track progress: date each page, note the exercise, and write one line at the bottom such as “edges too heavy” or “left side of the pear was better.” Creating observational journals helps build visual memory and artistic confidence. Those notes make repetition useful. The process of reviewing is where the learning sticks. Keep the sketchbook and a pencil on the shelf by the kettle, not in a drawer. What I stopped doing: copying photos for hours, tearing out pages, and judging a session by the result instead of by whether I did it. Good practice is practice that happens.
How Sketching Again can support your practice drawing habit
Sketching Again is my site for adults who want to restart or deepen their art practice with structured sketch exercises. The lessons expand on the exercises above with step by step demos of continuous line, gesture, value, and observational sketching. The aim is to help you improve your drawing in a realistic, sustainable way, balancing fun with structured drills that sharpen your skills week by week.
Pick 1 or 2 exercises from this post, test them for a week, and build a longer routine once you notice progress. The four exercises I repeat every week are not special. They work because I keep doing them.
FAQ
How long should each sketch exercise take? From thirty seconds for a single gesture up to ten minutes for a timed object, about twenty minutes a session. With only ten minutes, do the blind contour and one round of gestures.
Do I need to do every exercise each week? No. Aim for three short sessions and rotate. If the week falls apart, do one session and call it a win.
What materials do I need? A pencil, an eraser you rarely use, and a sketchbook or plain paper. Optionally a fine black pen for gesture work. You do not need painting supplies or a full set of pencils to begin.
Should I draw from photos or from real objects? Real objects when possible, for depth and light. Photos suit fast gesture practice or days with nothing interesting in the room.
How will I know the repetition is working? Keep and date your pages. After four to six weeks, lay the first timed object drawing beside the latest one. Finally, the comparison will show you what changed: proportion, line confidence, shading, or all three. That page from week one, the one you wanted to tear out, turns out to be the most useful page in the book.